Map
Maps are how you organize, view, and explore your collection of samples in order to use them in Atlas. Create, edit, or open a Map by clicking on the Map button on the top left. You can also open an existing map by locating it in the Browser.
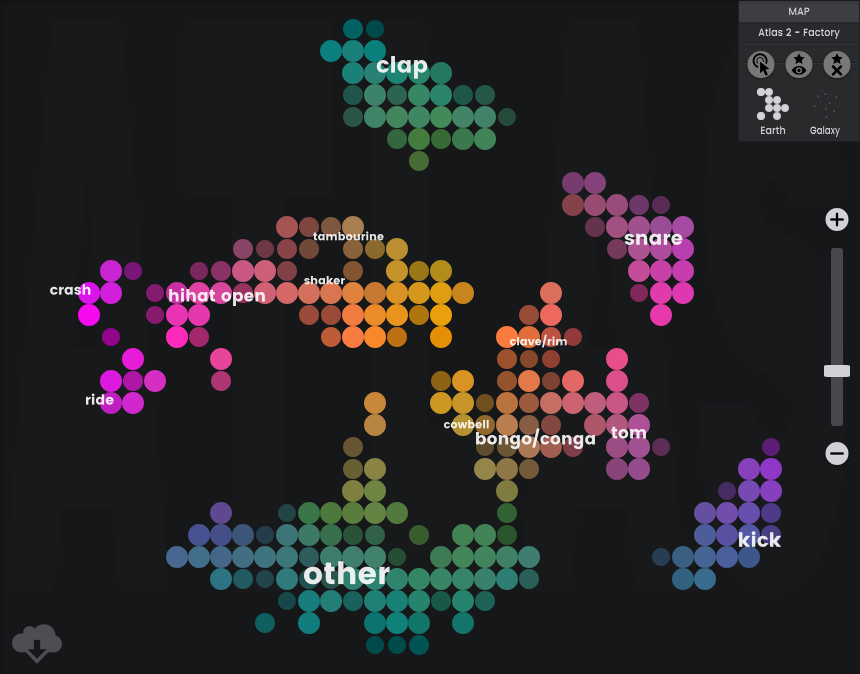
Circles on the Map represent samples, and these are arranged by the Atlas AI according to their sonic characteristics. Samples that are close to each other on the map will sound similar to each other. The samples are also grouped into categories, for example kick drums or claps, which help to guide you around the Map and are also used when automatically generating new Drum Kits. Click on a sample to play it, or turn on the Trigger on Hover mode to quickly preview samples by moving your mouse over them.
While it is possible to build Maps of any size to suit your workflow, a typical Map might contain 3-6 sample packs of a similar style e.g. Techno. Having multiple Maps of this size allows you to switch quickly between them depending on the style of beat you are working on, or even to mix and match Maps within a single Drum Kit.
There are two types of Maps in Atlas. Normal maps built from your own samples will use files stored locally on your computer, and Cloud maps . Cloud maps (for example the Atlas 2 Factory Map ), have their samples stored online, typically on the Algonaut servers, rather than on your own disk. These samples can be previewed in lower quality and then downloaded in high quality wav format onto your computer when you are ready to use them in your music. Cloud maps provide a quick, easy way to preview a map without having to do a large download. (we will be releasing more of these in the future)
Map View
Map View: Map Display
To navigate around the Map window, click on any empty space and drag. Holding the Alt key will allow you to click and drag from any location on the Map, whether or not it is empty. Zoom in and out of the Map by using the scrollbar, the plus and minus icons, or with the scroll wheel on your mouse. Double click on any empty space to zoom out to show the entire Map. Finally, you can use the arrow keys, or WASD keys if you have them enabled in the settings, to navigate between samples.
Map View: Zoom
Zoom in and out of the map view either by dragging the scrollbar, clicking the plus or minus icons, or by using the scroll wheel on your mouse. Zooming in may also reveal more samples while in Earth Mode.
Map View: Download all Samples (Cloud map only)
Download high quality wav files for all samples in the map, replacing the lower quality preview files. This button is only available when using a Cloud Map .
Map Options
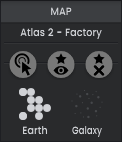
Map Options: Map Name

The name of the current loaded map.
Map Options: Trigger on Hover

When selected, samples will play when you hover your mouse over them in the map, rather than only when you click. This is useful for scanning the map quickly.
Map Options: Show Favorites

Highlight the samples on the map that you’ve added to your favorites. Other samples will be greyed out but you can still play and select them.
Map Options: Reset Favorites

Remove all samples from your Favorites list. Please be careful, as this cannot be undone.
Map Options: Earth Mode

Best for large maps, this more structured mode has all samples snapped to a grid. When zoomed out, similar samples are hidden beneath a single representative one. When you find a sample with the character you’re looking for, zoom in to reveal similar samples and choose the one you like most.
Map Options: Galaxy Mode

Best for quickly scanning samples, this mode always shows every sample on the map regardless of zoom level. Samples will sound most similar to their closest neighbours. Galaxy Mode pairs well with Trigger On Hover mode, allowing you to quickly preview many sounds.