Map Create

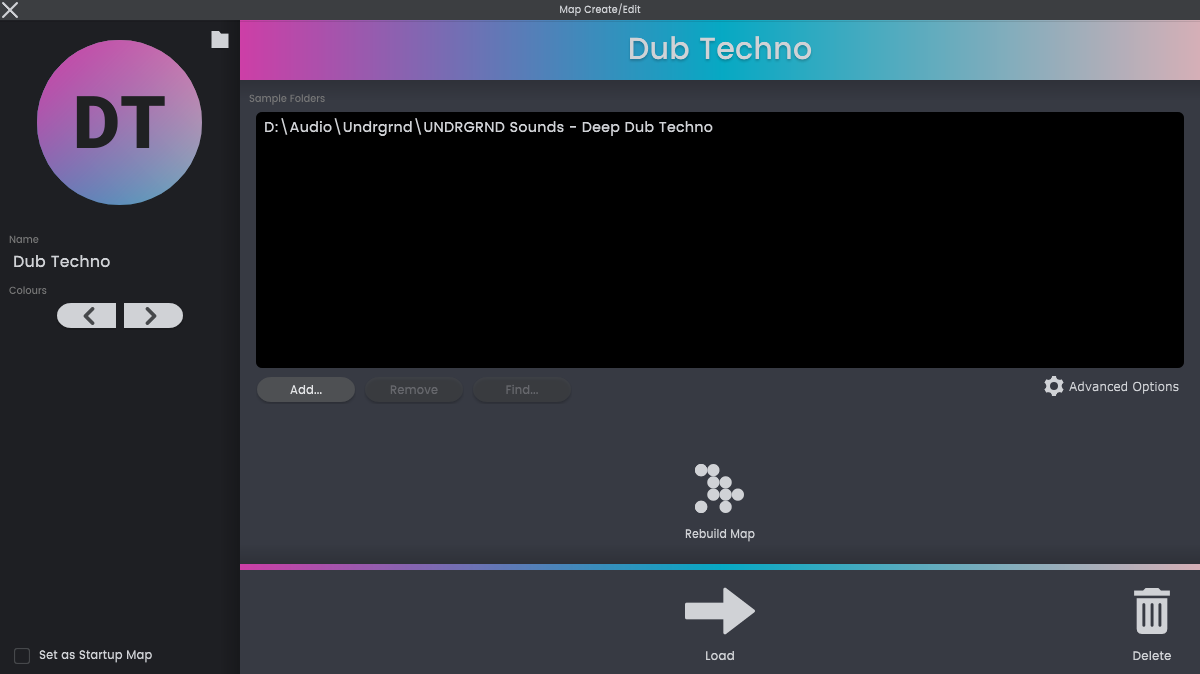
This is where you can create your own maps of samples. You're not limited to a single large map, in fact we've found it more useful to have multiple smaller maps each with their own character.
Name

The name (and file name) of this Map.
Colour

The colours to use for this map.
Show on disk

Open Explorer/Finder to show the location of the map file on your computer. This is useful for backing up your map, or for moving it to another device such as a laptop for live performance.
Set as startup

Set this map as the default map that will load whenever you open Atlas.
Sample Folders

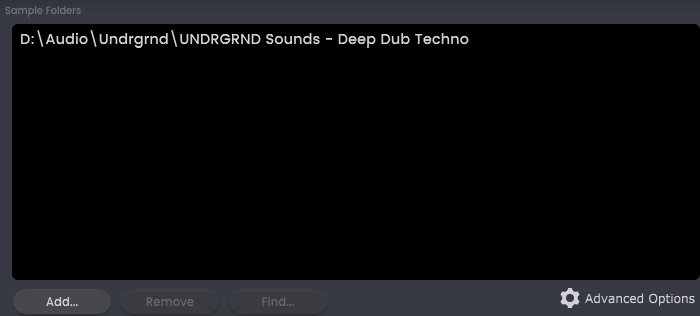
Browse for sample folders from your computer to include in the new map. Alternatively, drag and drop a sample folder, or multiple sample folders, directly from Explorer/Finder.
Atlas will scan through these folders listening to any audio files it finds. If the files are drum samples, or samples suitable for playback in a Drum Sampler, Atlas will include these in the map.
Note some long samples and loops will be excluded. These have been shown to interfer with the drum and rhythm based workflow of Atlas.
Load

Load this map.
Build Map

Construct a map with your listed sample folders. This can take some time while the AI analyzes your samples.
Rebuild Map

Whenever you open a map edit screen, Atlas will scan the map for any changes in the sample files. If it does detect changes, a message will appear above the Rebuild Map button to inform you. Click Rebuild Map to update the map with your latest sample files.
Delete

Delete the map without deleting any sample files. Please be careful, as this cannot be undone.
Resume

Resume analysis of a Map that was previously left unfinished.
Cancel

Cancel the current analysis of the map.
Advanced
Advanced: File types

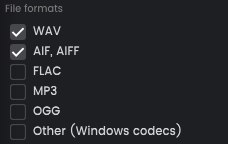
Select which sound file formats to include in the map. By default, only the most popular uncompressed file formats (wav, aif/aiff) are included.
Advanced: Only Drum Samples

Exclude synths, pads, sound effects, and any other non-percussive samples from the map.
